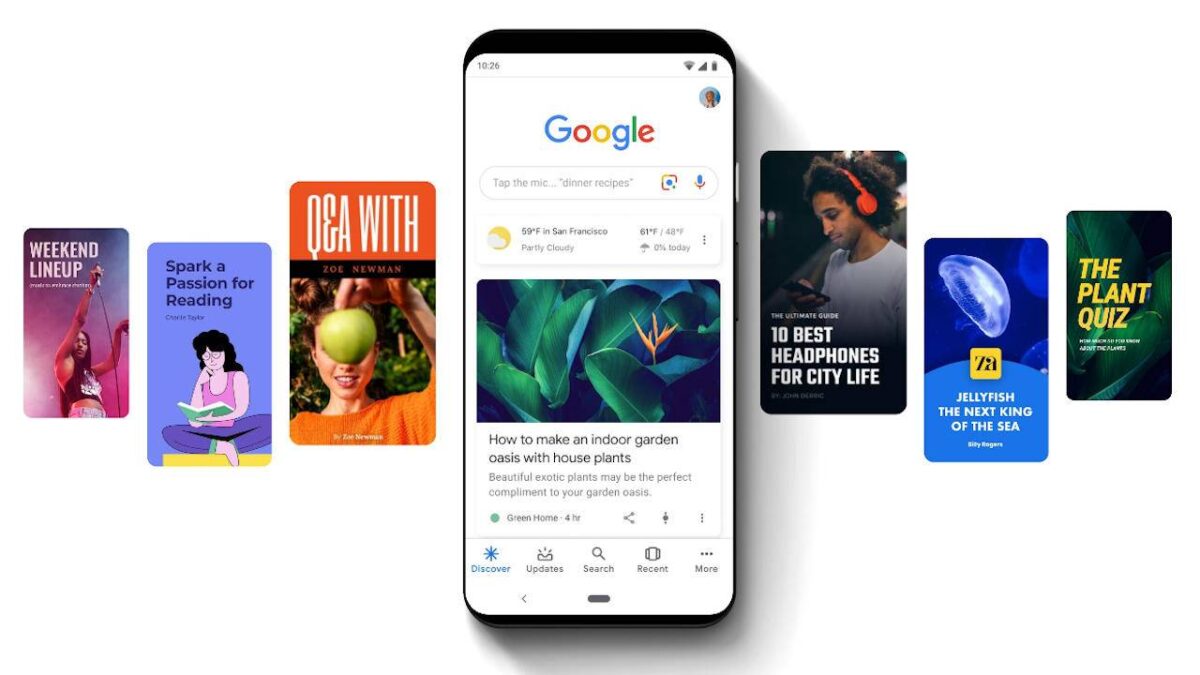
In the ever-evolving landscape of digital content, Google Web Stories have emerged as a powerful tool for captivating audiences through visual storytelling. These immersive stories blend visuals, text, and interactivity to engage viewers on mobile devices. This guide will walk you through the step-by-step process of creating and uploading compelling Google Web Stories that capture attention and inspire action.

Understanding Google Web Stories
Google Web Stories are a mobile-first format designed to provide users with a visually engaging and interactive experience. These stories appear in a carousel at the top of search results and can be embedded in websites, allowing you to reach a broader audience.
Step 1: Conceptualize Your Story
Begin by defining the core idea of your Web Story. Determine the narrative, theme, and the emotions you want to evoke in your audience. Whether it’s a tutorial, travel diary, or product showcase, a clear concept is key.
Step 2: Gather Visual Assets
Collect high-quality images, videos, and graphics that align with your story’s theme. Visuals are the heart of Web Stories, so ensure they are compelling, relevant, and optimized for mobile viewing.
Step 3: Craft Your Story
Break your story into digestible segments, each with a combination of visuals and concise text. Use captivating headlines and succinct captions to guide viewers through your narrative.
Step 4: Utilize Web Story Creation Tools
Google offers the Web Stories plugin for WordPress and a dedicated Web Stories editor to facilitate creation. These tools provide templates, customization options, and interactive features to enhance your story.
Step 5: Enhance with Interactivity
Elevate your Web Story with interactive elements like polls, quizzes, and clickable links. Interactivity keeps viewers engaged and encourages them to interact with your content.
Step 6: Optimize for Mobile
Keep in mind that Web Stories are primarily designed for mobile devices. Ensure that your visuals are captivating, text is legible, and navigation is intuitive on smaller screens.
Step 7: Preview and Test
Before publishing, preview your Web Story across various devices to ensure consistent quality. Test interactivity elements and transitions to guarantee a seamless viewer experience.
Step 8: Upload and Share
Once you’re satisfied with your Web Story, it’s time to upload it. Google offers a straightforward process to publish your story, either on your website or through Google’s Web Story platform.
Step 9: Monitor Performance
Utilize Google Analytics to track the performance of your Web Stories. Analyze metrics such as views, engagement rate, and click-through rates to refine your content strategy.
Step 10: Continuous Improvement
Regularly analyze feedback and metrics to enhance your future Web Stories. Experiment with different narratives, visuals, and interactive elements to keep your audience engaged.
With this comprehensive guide, you’re equipped to create and upload captivating Google Web Stories that resonate with your audience. Embrace the art of visual storytelling to leave a lasting impact on your viewers.
Disclaimer: Google Web Stories features and processes may change. Refer to official Google resources for the latest information.


+ There are no comments
Add yours