How to Update Aadhaar Card Online: A Comprehensive Guide
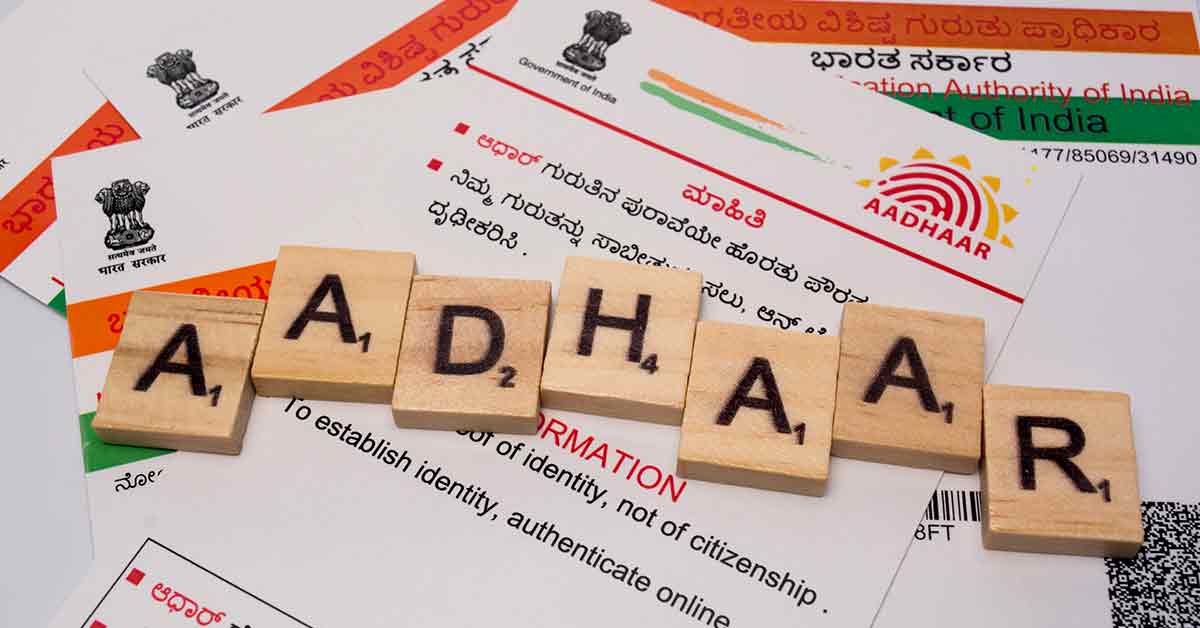
Your Aadhaar card is a vital government-issued identity document in India, and keeping its information accurate and up to date is essential. Whether you’ve recently moved, changed your phone number, or need to correct other details, the process of updating your Aadhaar card has been made convenient through online methods. In this guide, we’ll walk you through the step-by-step process of updating your Aadhaar card details online.

Step 1: Visit the Official UIDAI Website
The Unique Identification Authority of India (UIDAI) is the official body that oversees Aadhaar card-related processes. Start by visiting the UIDAI website.
Step 2: Click on the “Update Aadhaar” Link
Look for the “Update Aadhaar” link on the UIDAI website’s homepage and click on it. This will take you to the Aadhaar Self Service Update Portal.
Step 3: Enter Your Aadhaar Number
Enter your 12-digit Aadhaar number in the provided field and fill in the security code displayed on the screen. Click on the “Send OTP” button.
Step 4: Verify the OTP
You’ll receive a One-Time Password (OTP) on your registered mobile number. Enter the OTP in the space provided and click on the “Login” button.
Step 5: Choose the Information to Update
Select the fields you want to update in your Aadhaar card. This could include your name, address, date of birth, email address, and more.
Step 6: Upload Documents
Depending on the information you want to update, you’ll be required to upload supporting documents. For example, if you’re updating your address, you might need to upload a scanned copy of your address proof.
Step 7: Review and Submit
After uploading the necessary documents, review the information you’ve entered for accuracy. Double-check all the details before submitting the update request.
Step 8: Choose the BPO Service Provider
Once you submit the request, you’ll receive an Update Request Number (URN). Choose a BPO Service Provider to complete the process. You can find the list of BPO providers on the UIDAI website.
Step 9: Visit an Aadhaar Enrolment Center
Visit the chosen BPO Service Provider’s Aadhaar Enrolment Center with the required documents for verification. The center will verify your documents and biometric data.
Step 10: Wait for Confirmation
After verification, you’ll receive a confirmation message on your registered mobile number and email address. Your updated Aadhaar card will be sent to your address within a few weeks.
Conclusion: Stay Updated Hassle-Free
Updating your Aadhaar card details is now a seamless process thanks to the online portal provided by UIDAI. By following this step-by-step guide, you can ensure that your Aadhaar information remains accurate and up to date without unnecessary hassle. Remember, accurate Aadhaar details are essential for various government-related processes, so make sure to keep your information current.


+ There are no comments
Add yours